No Mither is one of the most polarizing perks in Dead by Daylight. Often seen as a high-risk, low-reward option, this perk forces you to stay injured for the entire match—making you an easy target for killers. In this Dead by Daylight guide, we’ll go over 2 no mither build variations, each with a unique strategy to outplay the killer. These builds will help you take No Mither from being the “worst perk” to a surprisingly effective tool in the right hands.
The Ultimate No Mither Build
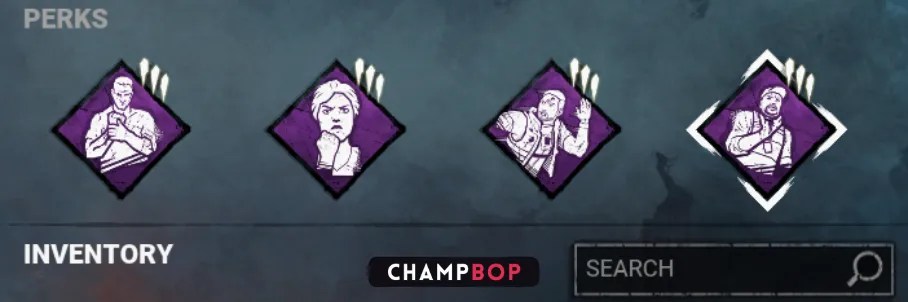
This survivor build revolves around No Mither and increases your resilience and ability to survive under constant injury.
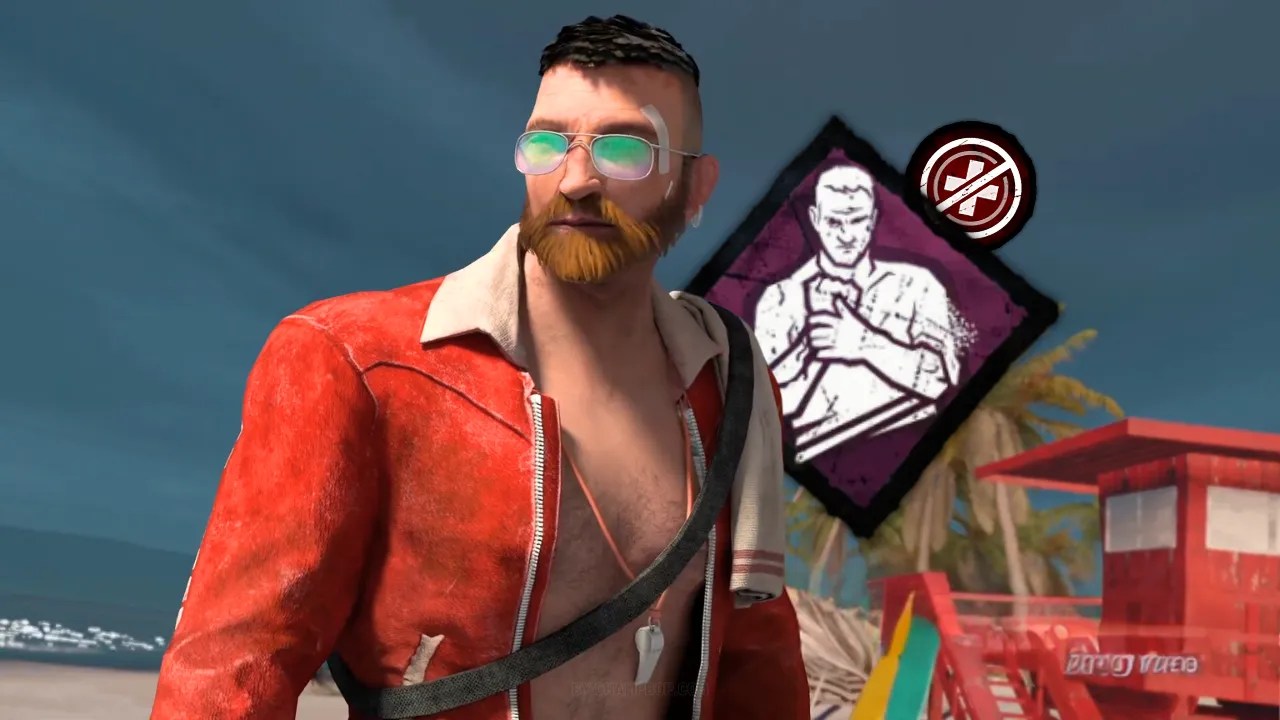
- No Mither (David King): The core of this build, No Mither, is one of the most infamous perks in Dead by Daylight. It makes you permanently injured, but you don’t leave pools of blood, reduce grunts of pain by 75%, and can recover faster from the dying state by 25%. However, you can’t heal. It’s a high-risk perk but offers stealthy play and faster recovery.
- Resilience (General Perk): While injured, you gain 9% speed for virtually all actions, such as vaulting, repairing generators, and healing others. Since No Mither keeps you constantly injured, you benefit from Resilience for the entire match.
- Made for This (Gabriel Soma): This perk boosts your movement speed by 3% when injured and grants an endurance status effect for 10 seconds after you heal another survivor. Combined with No Mither’s permanent injured state, you’ll get an additional mobility boost throughout the match, making you harder to catch.
- Tenacity (David Tapp): This perk increases your crawling speed by 50% and reduces the noise you make while in the dying state by 75%. With the increased recovery speed from No Mither, you can recover and crawl away quickly. Giving you more chances to escape or be picked up.
The build is focused on staying injured and leveraging the speed boosts from Resilience and Made for This. Tenacity pairs well with No Mither, allowing you to recover from being downed quicker and reposition yourself stealthily. While No Mither puts you in a vulnerable state, this build capitalizes on speed, stealth, and self-reliance. Making it a great choice for those who want to try a different strategy.
The Annoying No Mither Build
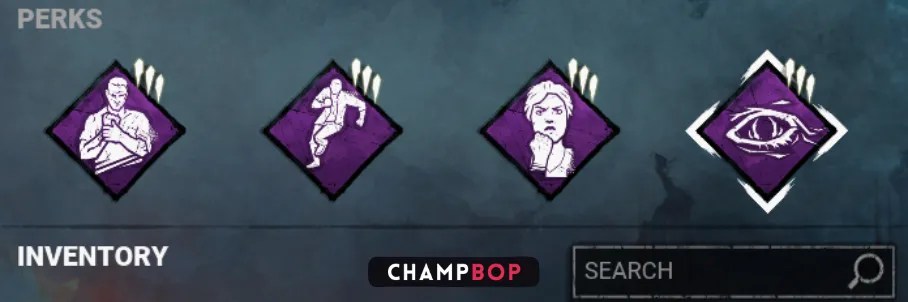
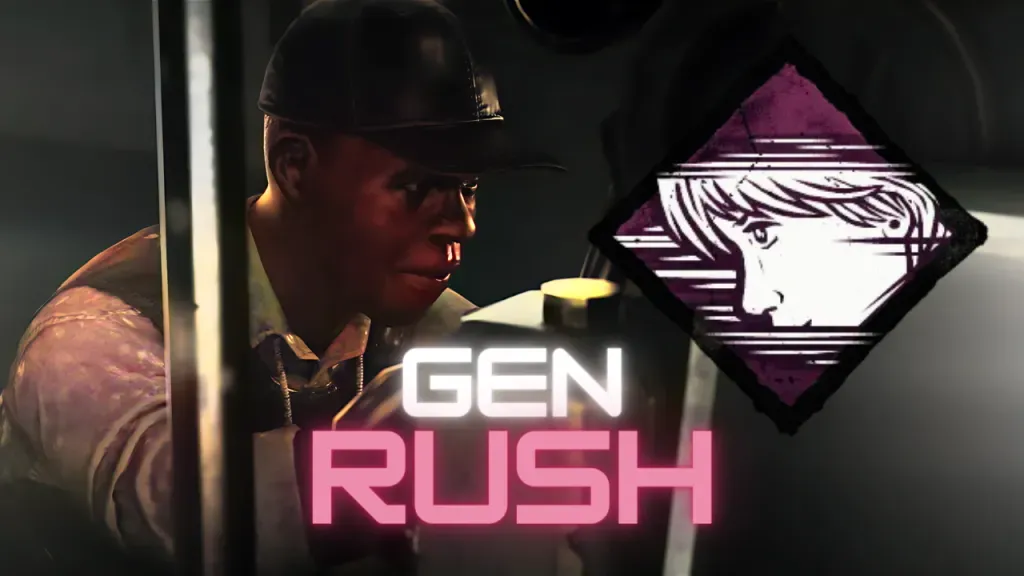
This survivor build is about baiting killers into chasing you, only to outplay them and leave them frustrated. It turns the weakness of No Mither into a strength by utilizing perks that give you agility and tactical vision.
- No Mither (David King): You remain injured the entire match, but you gain stealth advantages such as no blood trails, reduced grunts of pain, and the ability to recover from the dying state faster. While the killer might view you as an easy target, you’re much more durable than they realize.
- Dead Hard (David King): This perk allows you to dodge killer attacks when injured. Since No Mither keeps you permanently injured, Dead Hard becomes an important tool in your kit. Giving you a “get out of jail” button when being chased after being unhooked or unhooking yourself.
- Resilience (General Perk): When injured, you perform actions 9% faster. This includes vaulting and repairing generators. With No Mither, you’re always injured, so you’ll enjoy this speed boost for the entire game. Giving you the advantage in both chases and completing objectives.
- Object of Obsession (Laurie Strode): Every 30 seconds, you and the killer can see each other for 3 seconds. This helps you plan your next move and bait the killer into focusing on you. Only for you to outmaneuver them with Dead Hard and Resilience.
This build focuses on tempting the killer into chasing you. Object of Obsession gives you intel on their location, allowing you to think strategically about whether to engage or evade. When they take the bait, Dead Hard and Resilience make you stay one step ahead, looping efficiently and dodging attacks. This turns the initial weakness of No Mither into a strength by allowing you to constantly outplay the killer. Often leading to hilarious great moments where the killer can’t keep up.